Supplies:
- stencils and or stamps versa mark in pad or pen form embossing powder embossing heating gun stamping ink
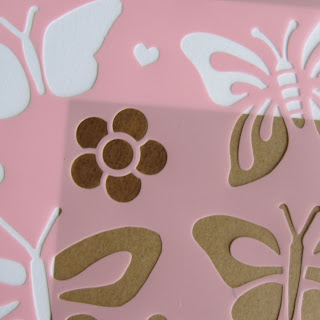 On this one I used a stencil and versa mark pen to apply the translucent watermark image.
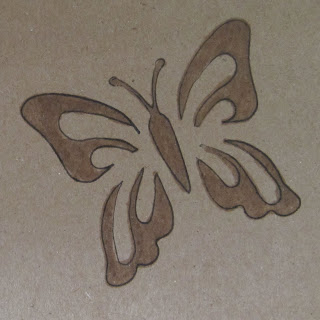 Here is my butterfly which I outlined first with black pen(optional.. because it didn't show later)
Used the versa mark pen to cover the image.
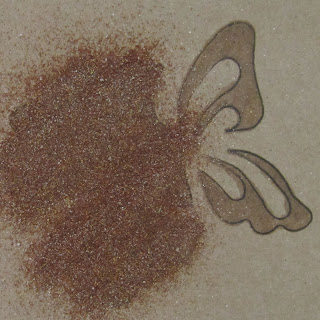 Apply lots of embossing powder to cover the whole image. ( we save the left overs)
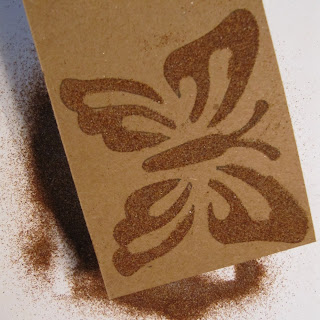 Shake and or tap off the excess powder off onto a piece of paper. (or use the official catching tray with resin pad to help prevent static cling).
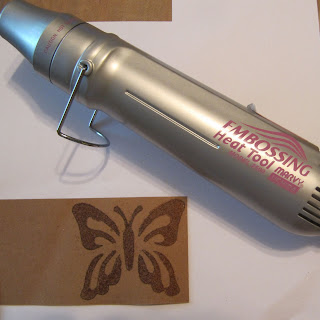 Here is the Heat embossing tool.
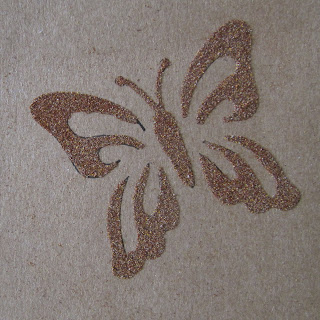 When the embossing powder is heated enough it changes to a darker colour, pops slightly and has a shiny finish.
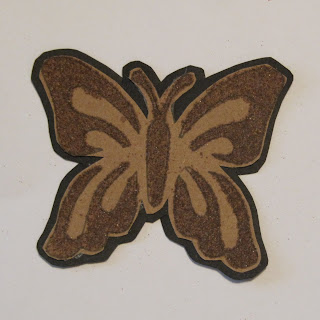 On this image I cut it out and matted it so I could pop it up as an accent.
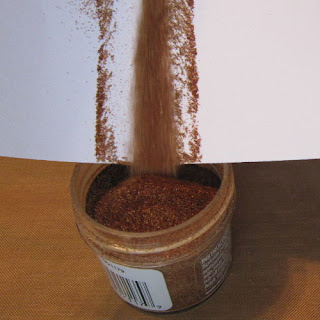 Extra embossing powder gets funneled off the paper back into the jar.
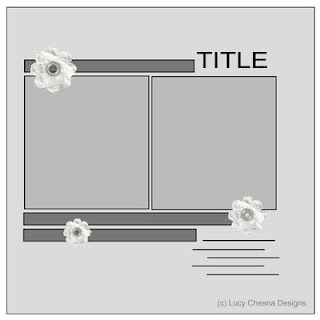 Here is Lucy's amazing layout sketch this month which I used on all the samples.
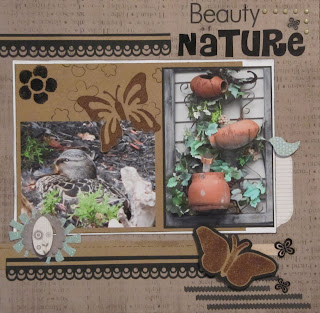
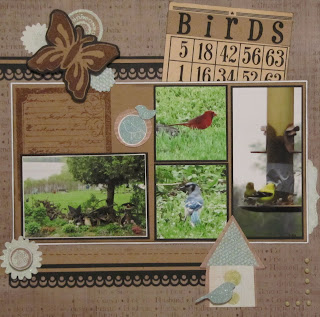 Beauty of Nature and Birds both have a direct application and a cut, matted and popped up image accent.
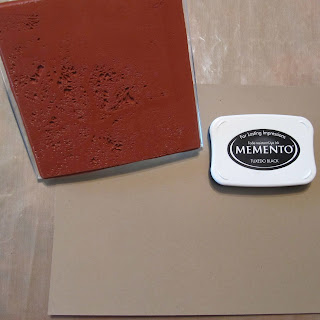 This is a little something different that I tried.
Supplies:
Stamp
ink pad
embossing powder
versa mark
heat gun

Using a big scenery background stamp I inked it with Memento.
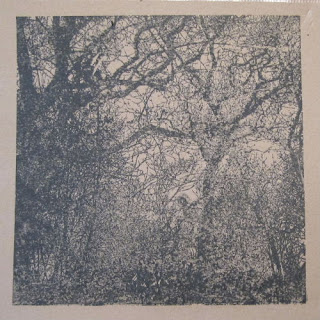 Stamped it onto paper.

 Stamped it onto paper.
Now I versa marked only specific parts of the same stamp and laid it on directly on top of the ink stamped image. Apply embossing powder and heat it.
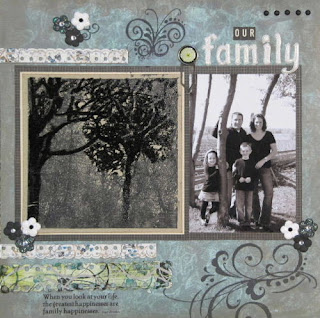 This is the finished scenery on the layout "Our Family" using the same amazing sketch from Lucy.
I am sure you now have lots of ideas to share.. would love to see them. Join us in the forum at My Sketch World to play along. Can't wait. This is the finished scenery on the layout "Our Family" using the same amazing sketch from Lucy.
3 comments:
Wonderful tutorial Bev, thanks so much for showing the technique!
Majo
Love the technique on the second layout. That is awesome.
I've been searching around for some good company blogs and this is one of the best articles I have found. So thanks and I hope you do an update on this subject.
by pR
Post a Comment